Toile: Short-Sleeved Grocery Store Grainline Studio Archer Shirt
What does the title mean?… I can’t help it, I feel like a grocery store cashier (from the 90s?) in this shirt. The stripes, particularly in those colours, just look like some kind of work uniform to me, and the silly length of the sleeves and the slightly cutesy collar don’t help. When I mentioned this to my boyfriend, he said that he had thought the same, he just hadn’t dared tell me. Oh well.
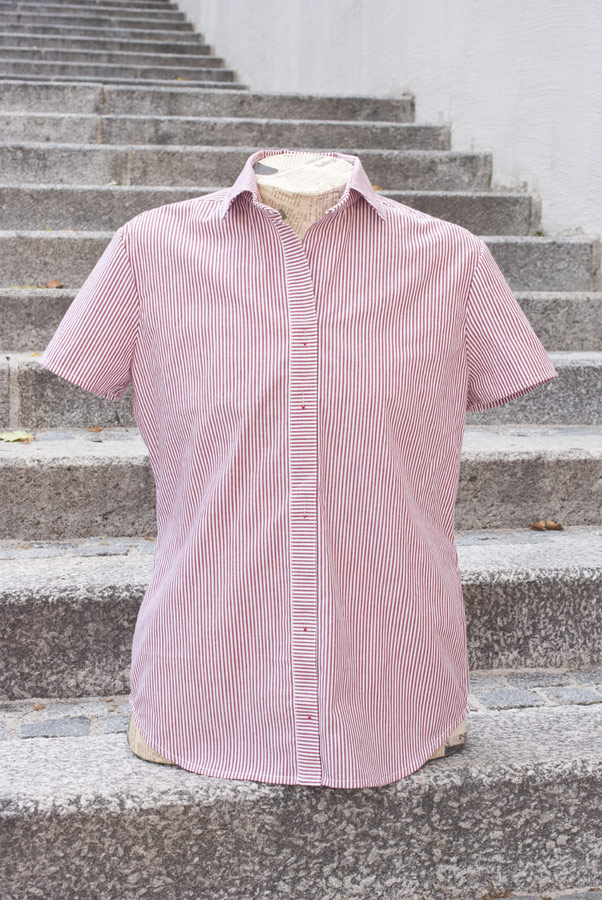
I spent a lot of time on this, considering it’s just a toile. I tried to do everything as neatly as I could, including a whole lot of topstitching. I was interested in making a toile for the construction techniques as much as for the fit, so it was worth investing the time to practise—even though I don’t think I’ll wear this thing. I didn’t want to make a quick and dirty toile and then mess up the construction on the first version I would make from nicer fabric. As it is, this shirt is still missing its buttonholes and buttons, and I don’t think I’ll add them any more. Making this version has given me the confidence to make another that I really love, so it was worth it just for the learning experience.
Pattern
The Grainline Studio Archer Shirt, in a size 2/0/4.
Fabric
About 125cm of 110cm wide cotton fabric from Müller, which is my local discount fabric store. This fabric is of surprisingly good quality, considering it cost me €1.50 per metre. It was easy to cut, lovely to sew and pressed really well.
Adjustments and design decisions
-
I graded the pattern from a size 2 for the shoulders, sleeves and bust down to a size 0 for the waist and back up to a size 4 for the hips.
-
I cut the sleeves off, obviously. I really don’t need any more long-sleeved shirts right now and I didn’t want to fiddle with sleeve plackets and cuffs on my very first attempt at a shirt. To change the long sleeves into short ones, I just drew a line perpendicular to the grainline at a length I thought might work. For future reference, my sleeve pattern piece is about 19.5cm tall (that’s including seam and hem allowances). I think that I might want to cut it a little shorter next time, or quite a bit longer—the length seems odd as it is.
-
I left off the pockets. I don’t like the original Archer pockets, they’re too big for my taste and have a boring shape. And since this was just a toile, I didn’t want to bother with drafting and sewing alternative pockets.
-
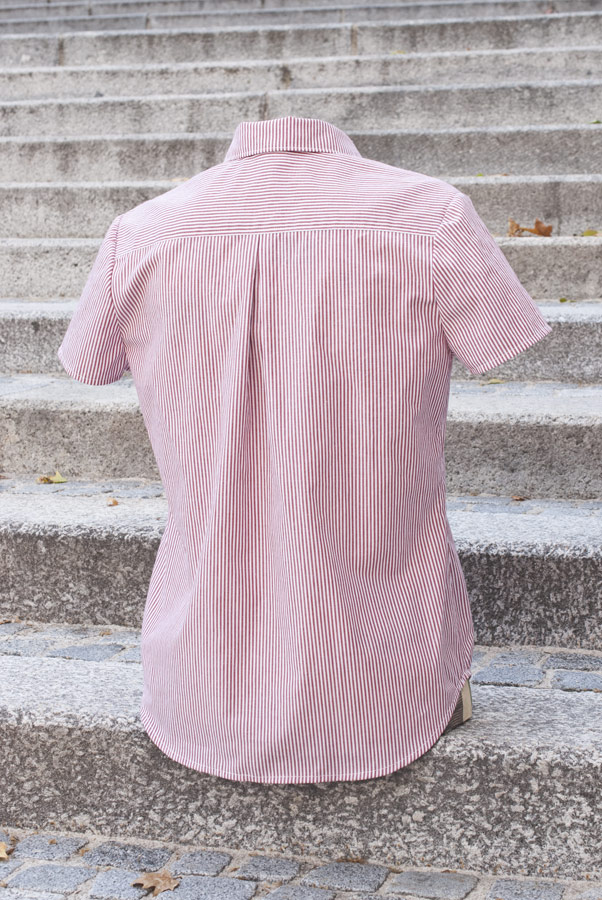
I sewed the back pleat inside-out. I didn’t really like the box pleat look, particularly in this fabric, so I decided to change it. (This seems to happen to people accidentally, but in my case, it was fully intentional.)
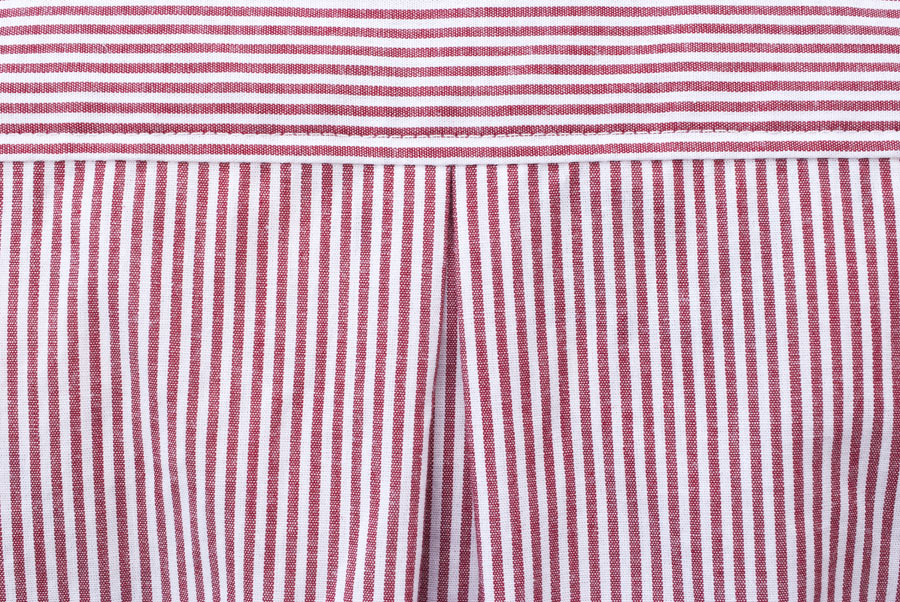
- I cut the right button band and the yoke on the cross grain to break up the vertical stripes a bit.
Construction techniques
-
I used the burrito technique for attaching the yoke, which was easy to do and worked really well.
-
The sleeves went in surprisingly easily and neatly. I haven’t set in all that many sleeves before and I remember really struggling on my half-dozen Colette Laurel toiles. Either the Archer sleeves are drafted better or I’ve become a lot better at sewing since—or possibly both.
-
I finished the side and sleeve seams by trimming the seam allowances and then zig-zagging. It isn’t the neatest finish, but I wanted a method that would be quick and easy.
-
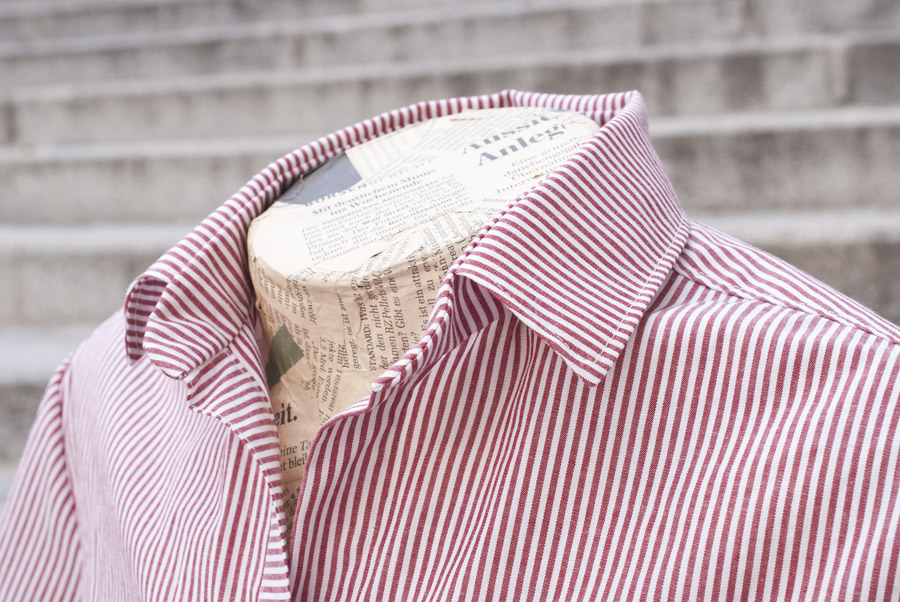
I attached the collar stand and collar using Andrea’s method and Off the Cuff’s collar point tutorial. Both of them were very helpful and I think that my collar looks extremely neat for a first attempt. I could perhaps attempt to reduce the bulk of the collar stand a little more, but other than that, I’m really happy, and my ready-to-wear shirts are bulky at the tip of the collar stand too.
What I struggled with
Surprisingly, not much. I expected a proper shirt to be harder to make, but overall, this make went swimmingly.
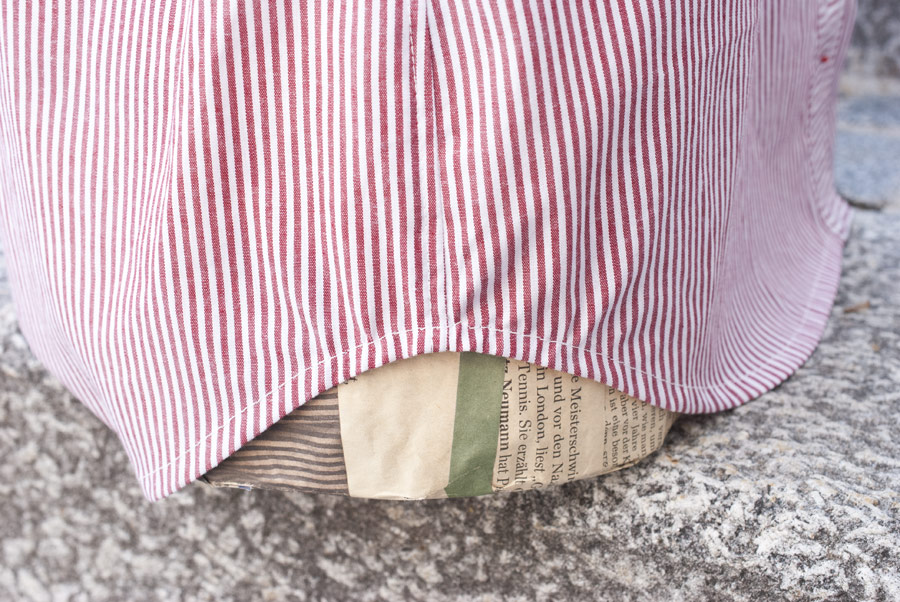
I have to mention the hem, however. Sigh. I love shirt-tail hems, but I don’t love sewing them. They’re a fiddly pain and I always end up ripping out the parts around the side seams several times, and the end result is still not perfect. I wonder whether there’s some particular trick to this that I haven’t discovered yet. Not very helpfully, Jen’s tutorial just says: “The hem is super easy, you’re just going to be turning up two 1/4″ folds.” Haha, ‘super easy’, huh?… This might possibly be ‘super easy’ in a fabric with some give, which this one decidedly does not have.
What I want to do differently next time
-
I have made a sleeveless version since finishing this one. I wanted to make the pattern sleeveless right away at first, but then I decided to check the fit on a version with sleeves before messing with the pattern pieces any more than necessary.
-
I don’t really like the collar, at least on me. I usually like my collars a little bigger and pointier and this one just feels too small and cutesy. I’ve adjusted the pattern piece for my next version and like that one a lot better.
-
For any future versions, I am going to flat-fell or French-seam the side and sleeve seams. I didn’t want to bother with that for this toile, but for a nicer version, I would care.
-
I think that I could still improve the fit around the shoulders a bit, something isn’t completely right there. Don’t get me wrong, I’m super happy with the fit overall, but if I make several more of these, I’ll probably try to tweak the fit.
Helpful links
- For most steps, Jen’s sew-along is really, really helpful. I only referred to the pattern instructions once or twice and otherwise just followed the sew-along. Here are the posts I used:
-
I used Andrea’s method for attaching the collar. I haven’t tried the original method, but since everyone says the different order makes things easier and neater, I figured I’d try that first.
- For the collar points, I tried out Off the Cuff’s tutorial, which also worked really well.