Finished: Long-Sleeved “Control-Freak” By Hand London Victoria Blazer
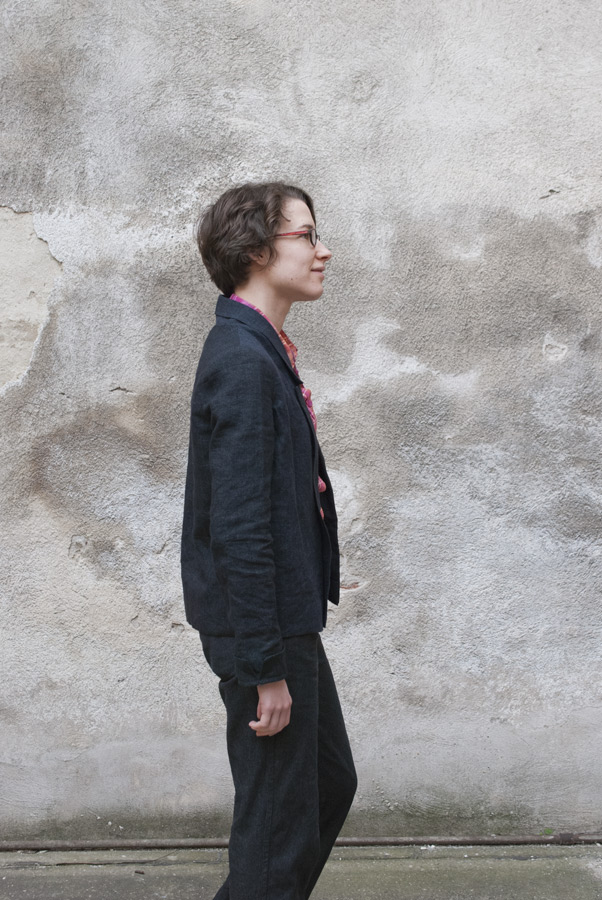
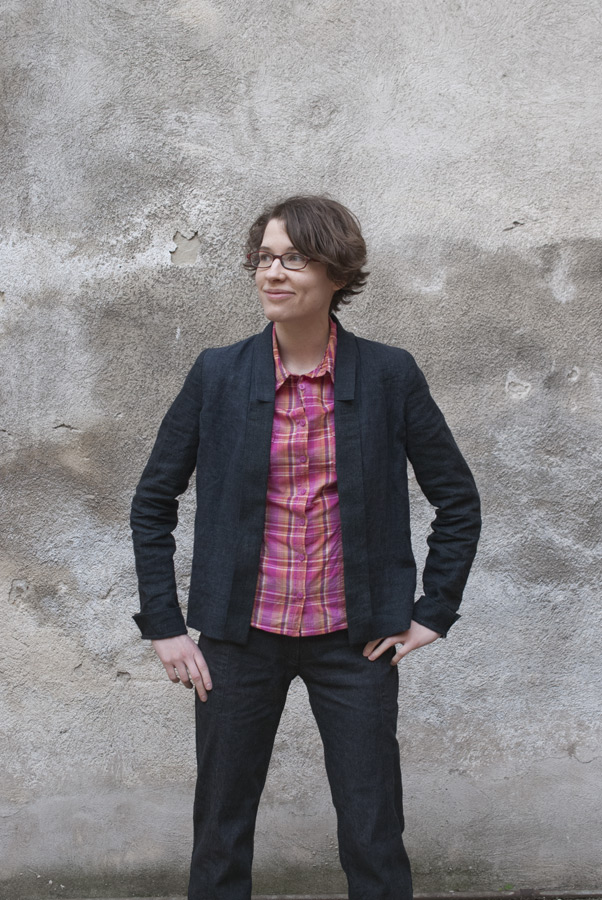
Uhm … Welcome to my exciting wardrobe! I’ve made another slouchy black linen blazer! And guess what? I used the same pattern and fabric as last time. I’m that exciting.

Pattern
By Hand London Victoria Blazer. I am happy with the fit of my first version, so I made it in size US 2/UK 6 again—but this time, it’s a modified Version 1.
Fabrics
- For the shell, the same almost-black linen from Müller that I used for my first version. (Yes, I bought a lot of this fabric. It’s 100% linen and it was very cheap.) I wanted to make a crazy version next, but haven’t found the right fabric for that yet, and I needed a “work-appropriate” blazer. I’m not giving up on that crazy version, it has just been delayed!
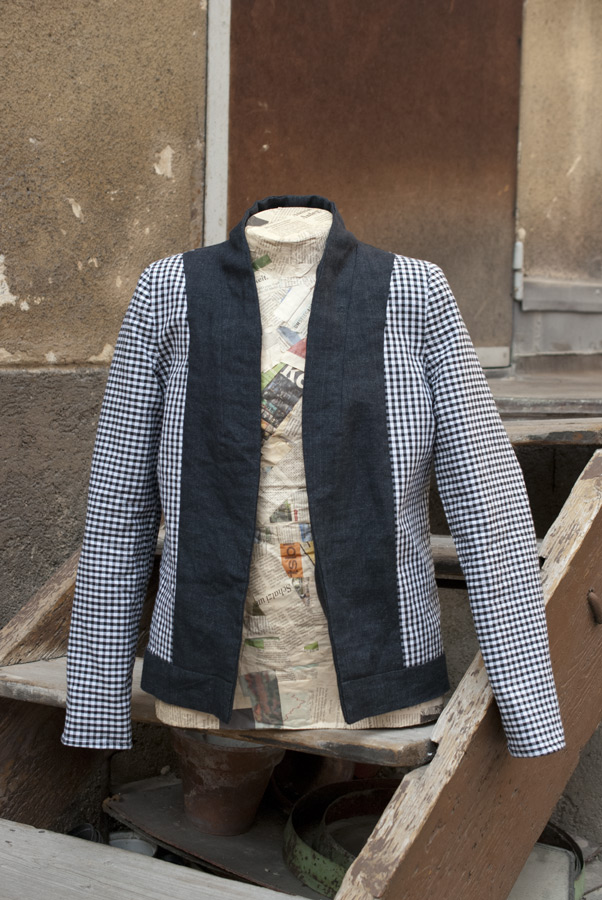
- For the lining, I was going to use the same Kaffe Fassett Cotton Shots fabric I used last time, only this time in Ginger (orange). But then I changed my mind and chose a cheap, lightweight black and white cotton gingham fabric from Müller instead. I wasn’t sure whether all of my alterations (see below) would actually work, so I didn’t want to sacrifice any fabric that I would feel sad about having ruined.
Alterations
- I lengthened the sleeves to full length. I just traced the sleeve pattern, drew a parallel line 20cm from the sleeve opening, marked the length of the original sleeve opening on that, and drew the sleeve seam lines from their original starting points to the marked points. I’m sure that this isn’t the proper way of lengthening sleeves, but the pattern piece didn’t have a lengthen/shorten line and I didn’t know how to do this properly. It seems to have worked out fine.

-
The length is almost the full length of Variation 1, just shortened by about 6.5cm. That’s about 10cm longer than my other version. I didn’t think that the cropped length would look right with full-length sleeves and I also thought that a longer version might be more “work-appropriate”.
-
I followed Sonja’s notes for lining the sleeves again.
-
I made a “control-freak version” like Nicole Needles’. I drafted front and back facing pieces and modified the lining pieces accordingly. And I left the hem of the shell longer than the lining hem, turned it up twice and slip-stitched it to the lining. This isn’t perfect, but I didn’t have the time to figure out how to properly line a jacket with facings. It looks neat enough!
-
I didn’t add the pockets because I’m not really sure I’m a fan of in-seam pockets in general and I was afraid that they might gape.
-
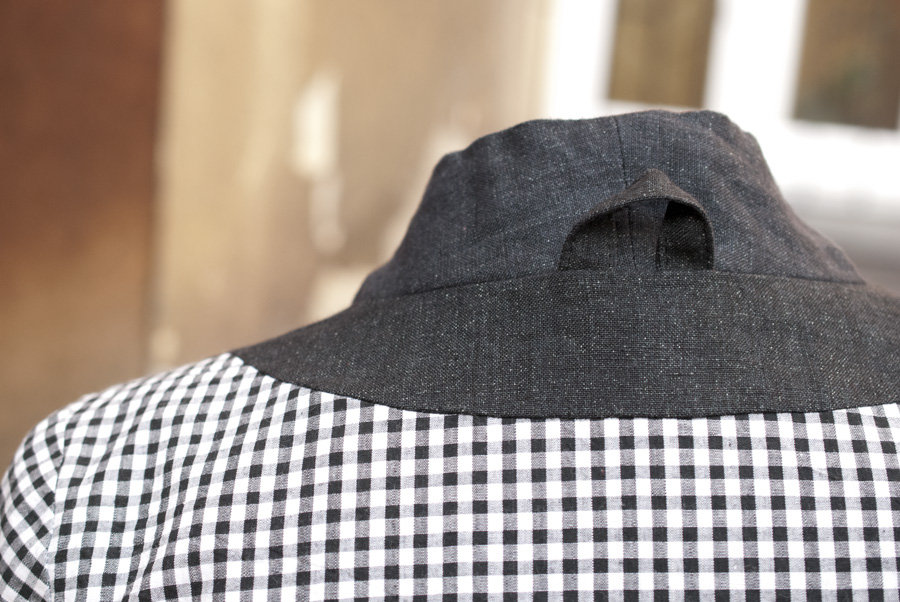
I added a hanging loop using the Sewaholic Minoru “pattern piece” again.
What I’m particularly happy with
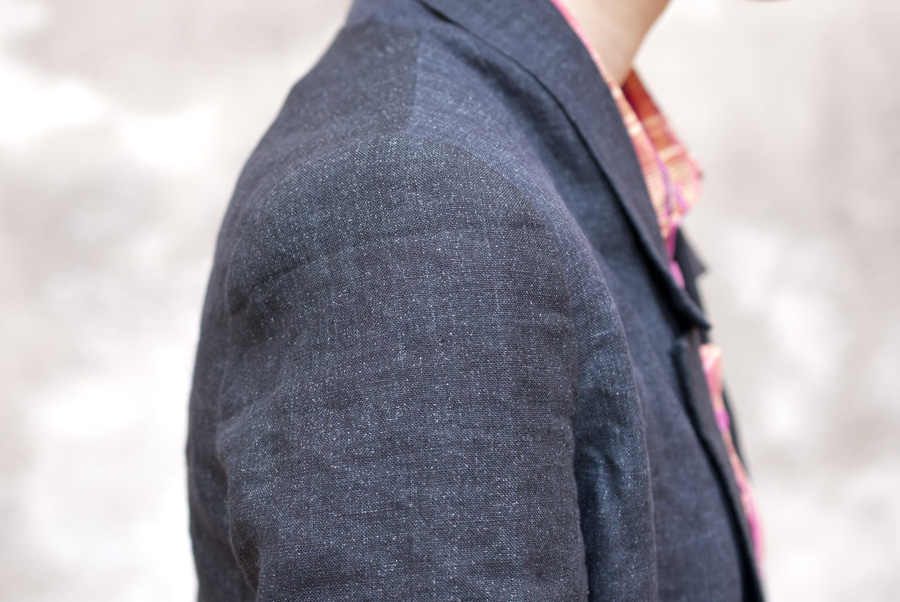
- The sleeve head. The Victoria pattern has the best sleeve pattern I’ve worked with so far. Both sleeves went in without any issues at all in both of my blazers. I love that the By Hand London gals have included so many notches on the sleeve and armhole pattern pieces. It takes all of the guesswork out of this step. And it looks beautiful, even in this slouchy linen with no wadding or shoulder pads or anything like that!
- I’m so happy that the “control-freak” modifications all worked out really well, except for one small niggle (see below). I wasn’t completely sure about the construction order, but it all came together well—no unpicking!
What I want to do differently next time
- I wanted the front and back facing pieces to match at the shoulder seam, but I messed it up and they don’t. I didn’t pay attention to the ease in the back shoulder when drafting the facing pieces. I’d like to fix that if I make another “control-freak” Victoria. (I’m not beating myself up too much about it since no-one will ever see this, but it could be better.)
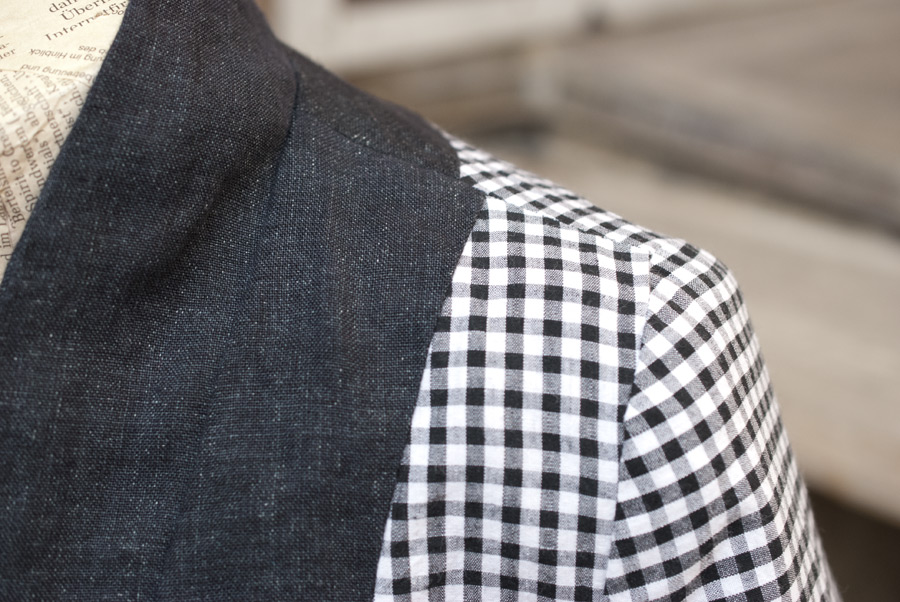
- I should have interfaced the lapels. I considered to do that, but decided not to. Next time!
Helpful links
-
See the links section of my first version.
-
Nicole Needles: By Hand London Victoria Blazer – the Control Freak Version
Photos of me taken by my boyfriend.