Finished: Red Denim Sewaholic Minoru Jacket
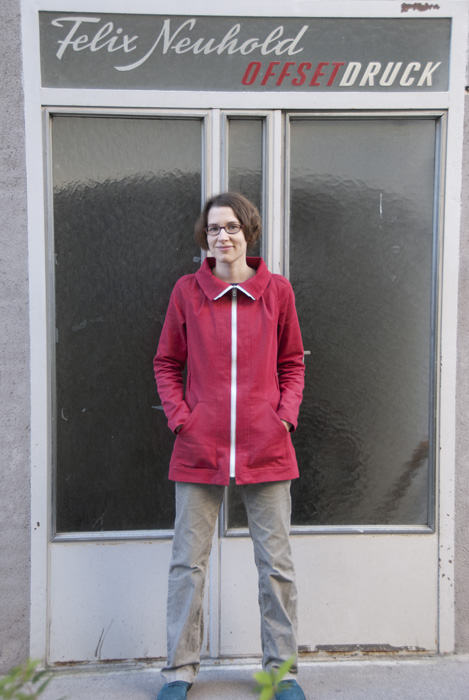
I’ve made a jacket and I’m so happy with how it turned out! I actually finished it a few weeks ago and wore it quite a bit before it got cold enough for my winter coat.
Pattern
Sewaholic Minoru, in size 4. I made View B, without the hood.
Fabrics
About 1.6m of a red stretch denim (something like 60% cotton, 30% polyester and 10% elastane, I think), from Komolka, for the exterior. I usually only use natural fibres, but figured that since the Minoru is lined, I could live with this. I think that I bought 2.5m of the fabric, according to the pattern directions, but had almost a metre left over after cutting. Unfortunately, I didn’t manage to eke out enough for a pair of jeans, so the remainder will probably eventually become either a pair of shorts or a skirt.
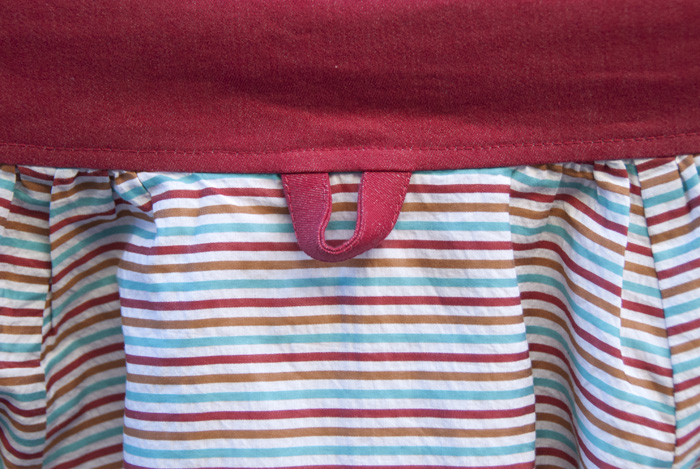
Less than 1.5m (I think) of a very light striped cotton, from Stone Fabrics, for the lining. Again, I bought as much as the fabric requirements chart said and ended up with quite some left over.
Alterations
Fit adjustments
- I cut a straight size 4 for my toile and it fit really well, except that it was somewhat wide around the hips. I have a (slight?) pear shape without the thighs, so that wasn’t very surprising. Compare the right side (original) with the left side (side seam taken in a bit):
 According to the Sewaholic size chart, I should actually cut a size 6 (bust)/size 4 (waist)/size 2 (hips), but didn’t bother to do that when I first made the toile over half a year ago, and then didn’t bother with the real version either because I was happy with the fit, except for the excess width around the hips. So I just took in the side seams a bit around the hips and called it done.
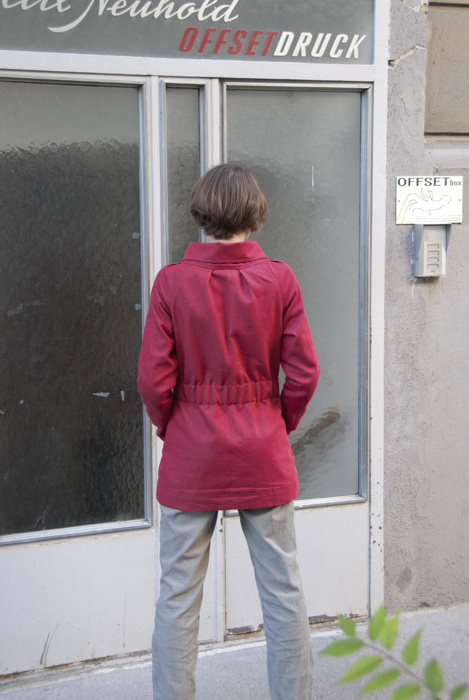
Design adjustments
-
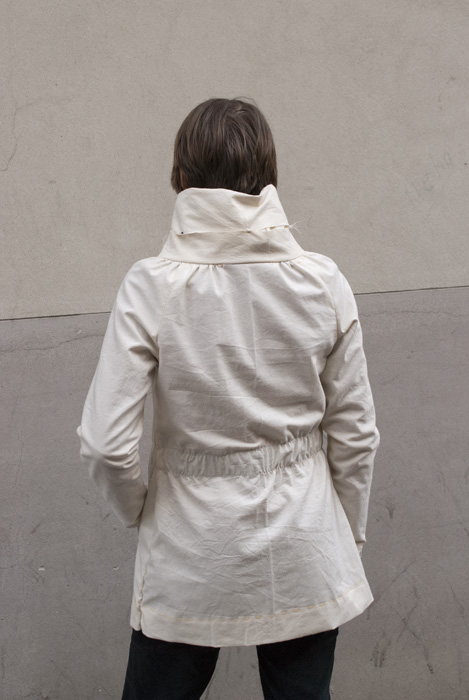
I didn’t like the gathers around the shoulders, so I changed them to pleats in a very non-scientific way. At first, I was going to try and remove the excess fabric by creating darts and then moving those to the existing seam lines somehow—but then changed my mind because I really needed my jacket and didn’t want to mess with the pattern any more than necessary. So I just cut out the original pattern pieces (with my small hip-width alteration), measured the excess, and tried to distribute the pleats I needed symmetrically. I pleated the exterior, but gathered the lining.
-
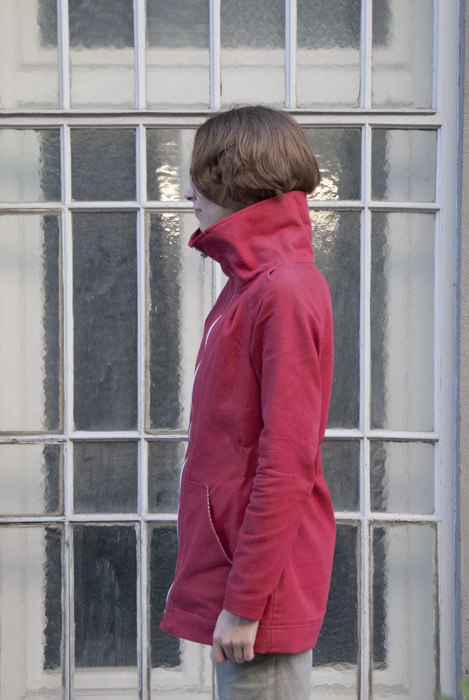
I didn’t like the elasticated cuffs either and the sleeves were long enough without them, so I just lengthened the sleeve pieces a bit, folded the hems to the inside and slip-stitched the lining to them.
-
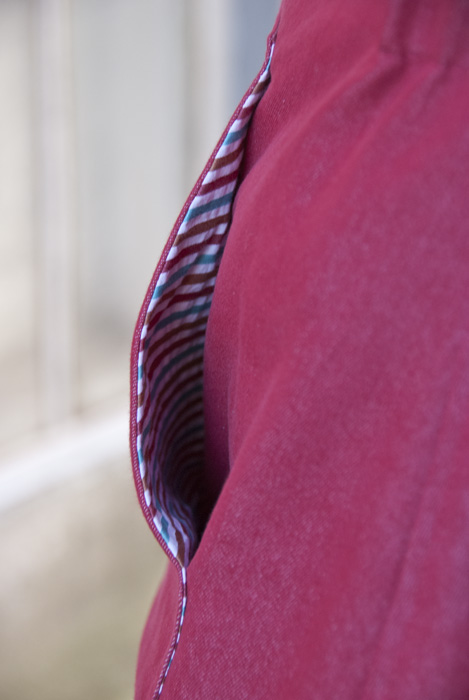
I added patch pockets and left out the internal pockets. I understand that pear-shaped ladies might not want the extra bulk around their hips, but I really need pockets in my jackets! I lined the patch pockets with the lining fabric for a little extra fun.
-
I used a longer zip than suggested so that mine extends almost to the bottom of the jacket. It was a huge pain to find any zip at all that went well enough with the jacket fabric. I wasn’t going for a contrasting zip, but I couldn’t find any red that went with the jacket fabric at all, so had to settle for light grey. It was the best of about a million options I tried.
What I want to do differently next time
-
The next version is probably going to be a rain jacket, so will need the hood. I am planning to just attach the hood to the exterior instead of stuffing it into the collar.
-
I might try to cut a size 6 (bust)/size 4 (waist)/size 2 (hips)—if I feel like conducting scientific experiments, that is. (;
-
I might add the cuffs back to a future version, but cut to fit into the sleeves without the elastic/gathering.
-
The hem is a bit of a mess because of the patch pockets—which I sewed on at the very start and which then didn’t end up exactly where they should have. So I had to adjust the hem width a bit in order to get the stitching line at the bottom of the patch pockets to end up where it belonged. I’ll have to think about a neater way of attaching the pockets. I really like that they’re tucked into the front plackets, however, and can’t currently think of another way of achieving this look.
Helpful links
- The Sewaholic Minoru Sew-Along, obviously! (Just linking to the last post because it has a list of all of the others.)
Other versions I like
-
The Traveling Seamstress: Minoru Jacket (love both the teal denim and the plaid flannel—if only I could find fabrics like those over here!)
-
LLadybird: The Minoru Jacket, Round 2 (wish I could wear orange!)
-
crab & bee: Minoru by Morgan (very classic/sporty version)
-
Sew Fearless: Blackberry Minoru Jacket (not sure about the corduroy, but the colour is gorgeous)
-
Sew Well: Paint Me a Minoru (I couldn’t pull off that print, but I love it on Amy!)
-
Megan Ta Da: First Handmade Wear (“first handmade wear”?? reading this gave me quite some confidence)
Photos taken by my boyfriend.