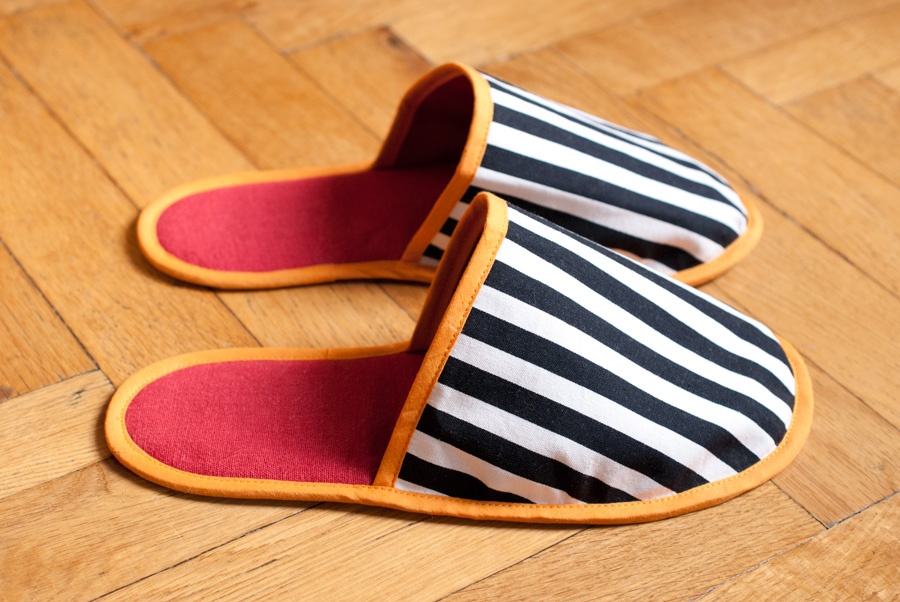
Finished: Stripey House Slippers
And now for something completely ridiculous: I’ve copied a pair of sad, old house slippers.
I don’t wear them at home, but we all wear them at my parents’, and the pair of theirs that I liked the most was in enough of a sad state that I was finally willing to part with it. But not without taking it home, unpicking one slipper and copying the pattern to make my own cute new version.
So, here’s the old slipper that I haven’t unpicked, for comparison:
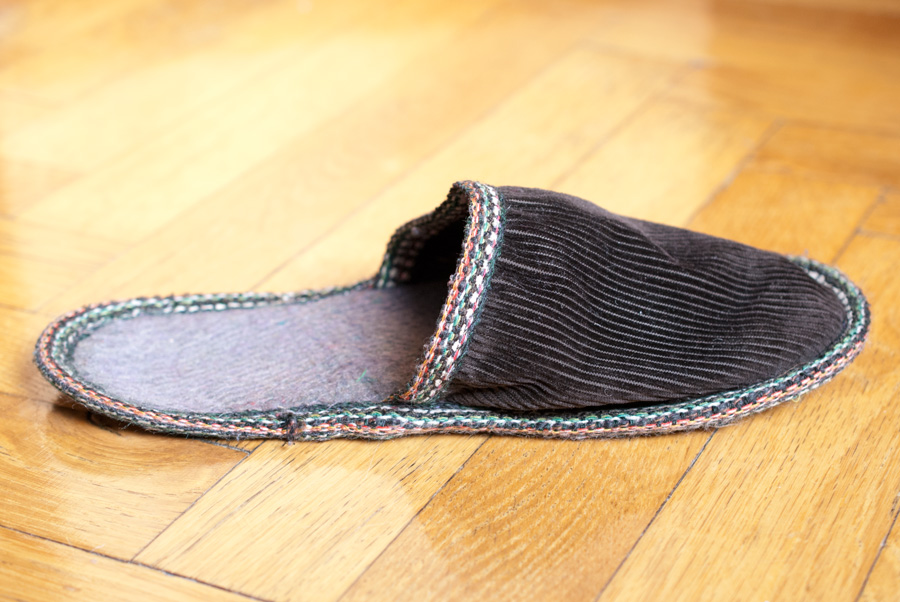
(Note that the lovely light I just managed to catch makes it look a lot better than it does in real life. Trust me.)
Other than to point out the obvious ridiculousness of this project, there’s really not that much to say about it.
Pattern
Copied from an old pair of slippers. It would be easy to trace around your foot instead, I’m sure, but since I already had these and they were going to be tossed out anyway, I figured I’d unpick one, scan it (yes, I put the slipper pieces onto my scanner, ick) and trace it in Illustrator. Because I’m nothing if not thorough when it comes to my most ridiculous ideas!…
Fabrics
For the top pieces, I used my beloved IKEA SOFIA in narrow black and white stripes. I regret not cutting one of them on the cross grain for fun, but at least they’re pretty perfect mirror images of each other.
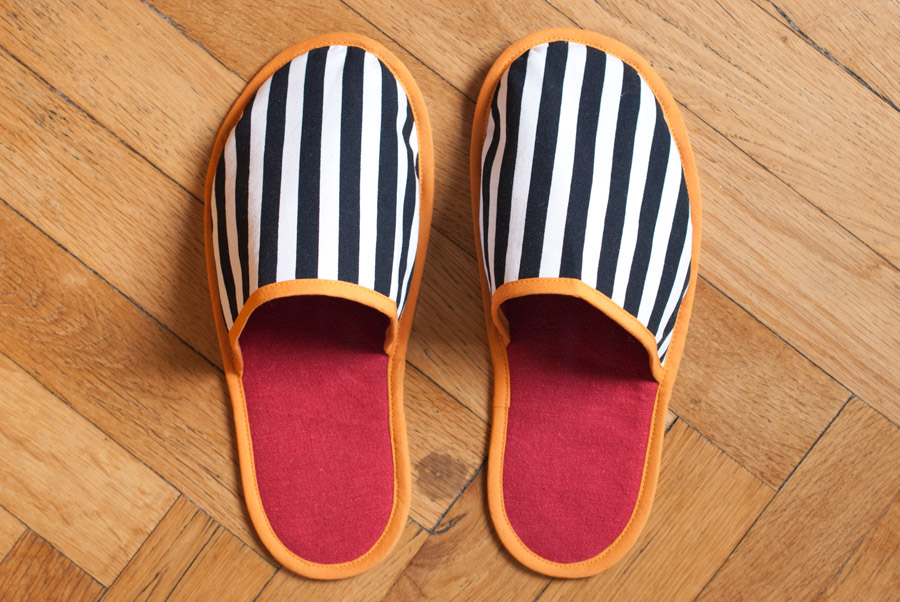
For the lining, I used IKEA LENDA in red.
For the outer sole pieces, I used IKEA MINNA in dark grey. It’s the sturdiest fabric I had on hand, so hopefully it will hold up okay for a while.
For the binding, I used self-made orange cotton voile bias tape left over from my boyfriend’s jeans-ish Jedediahs.
I interfaced both the outer and the inner sole pieces with batting-like iron-on interfacing scraps. I hope that that will provide enough of a cushion effect to make my new slippers as comfortable to wear as the old ones, and that it will help with the longevity. We’ll see. Even if it wasn’t enough, I have a pattern for these now, so I can easily make another pair if and when my prototype wears out!…
Construction process
Just in case any beginner stumbles upon this and is dying to make his/her own pair of silly house slippers, here’s what I did:
-
For each slipper, I cut two sole pieces from fabric, two sole pieces from interfacing/batting and two top pieces from fabric. (The original slippers only have a single layer for the top, but I thought it would be cuter to line mine in red as well. I might not do this with a fabric that has a nice wrong side, but the IKEA SOFIA doesn’t.)
-
I ironed the interfacing onto the inner and outer sole pieces.
-
I hand-basted together two interfaced sole pieces each, wrong sides together, and did the same for the top pieces.
-
I bound the straight edges of the top pieces with my bias tape.
-
I aligned the top pieces on top of the sole pieces and hand-basted the slippers together.
-
I bound the slipper edges with my bias tape.
What I want to do differently next time
-
For this style of slipper, I’m actually quite happy with the result. If I wanted a slightly neater pair, e.g. if I wanted to make these as a gift, I would apply the bias tape differently. But since this is just a prototype, I didn’t feel like basting or hand-sewing the binding, so the underside of the slippers isn’t as pretty as it could be. I can live with that.
-
I would love to make a really decadent pair with a silk lining, but I decided to make a prototype from random fabric scraps I had on hand first.
-
They would also be great fun with leather or non-slip soles.
-
If I’d wanted to spend more time on them, I would have followed Andrea’s tutorial instead. I love her slippers, they look a lot more professional than mine. But alas, I wanted a quick and easy project that I could finish in an evening.