Finished: Teal Sleeveless Grainline Studio Archer Shirt
I finished my new favourite shirt just before the colder weather arrived, so I only got to wear it twice before putting it away. But I’m really delighted with it anyway and am already looking forward to wearing it again next spring—or, if I manage to make a cardigan that goes with it, perhaps even earlier than that.
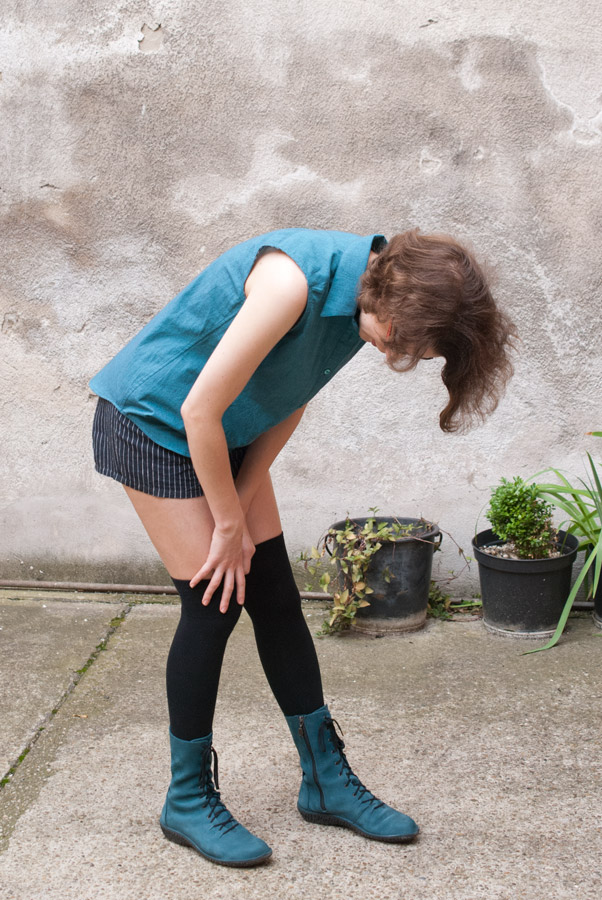
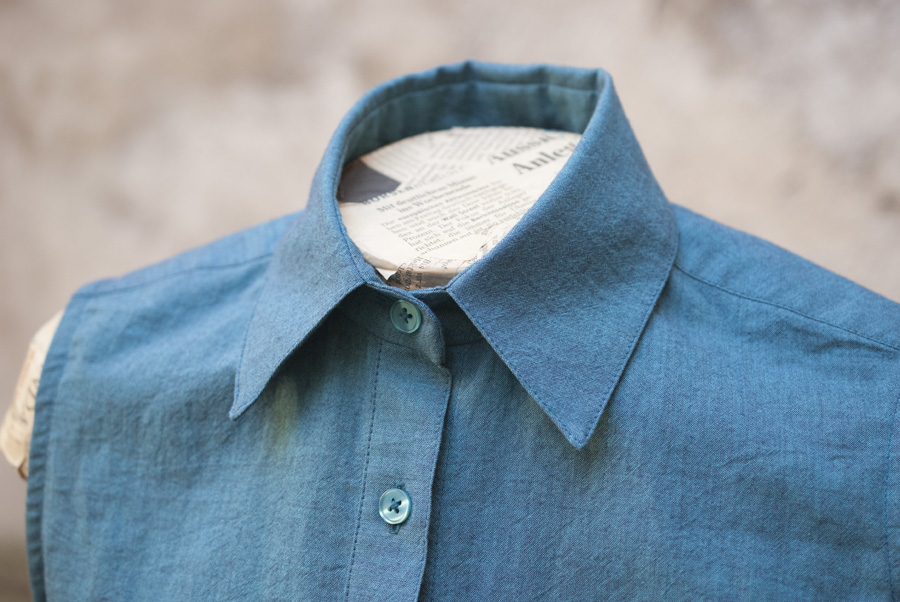
Okay, I’m pretty sure that I won’t win a “Most Helpful Garment Photo” award for the above photo, but I just liked it anyway. You can see my modified collar shape pretty well on it, in fact, so it isn’t utterly pointless.
Pattern
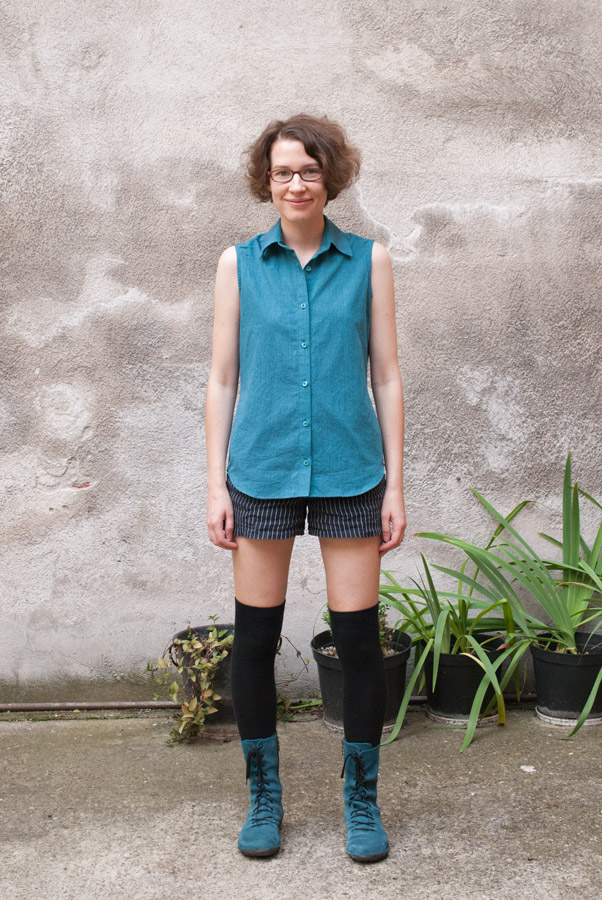
This is the Grainline Studio Archer Shirt, in a size 2/0/4 again (like my toile).
I bought this pattern in order to make the sleeveless shirt that I’ve been wanting ever since last summer, so I’m really chuffed that it worked out so well now that I finally decided to tackle it!
Fabrics and buttons
The main fabric was left over from lining my first Victoria. It’s a very soft, slightly sheer Kaffe Fassett shot cotton, in Eucalyptus. I had only about 75cm left, and the fabric is only 110cm wide, but I was determined! I played around with the cutting layout quite a bit and did manage to cut everything I needed. I had to cut the right button band on the cross grain and had to seam the inner collar stand down the middle, and I also cut the inner yoke from a different fabric (but I wanted to do that anyway).
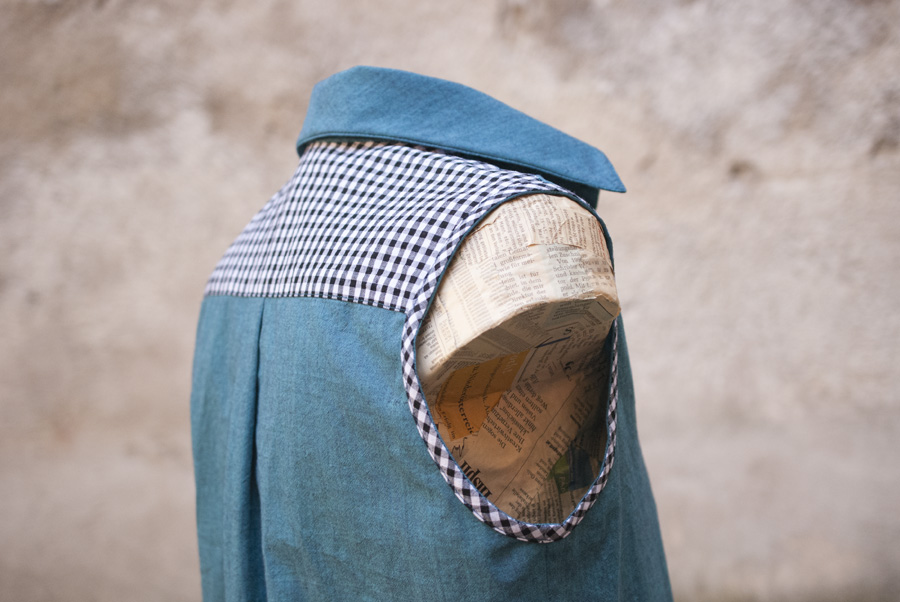
For the inner yoke, I used a leftover piece of the lining of my second Victoria. I finished the armholes with bias strips of the same fabric.
The buttons are simple plastic shirts buttons in a semi-matching teal, from Komolka.
Adjustments
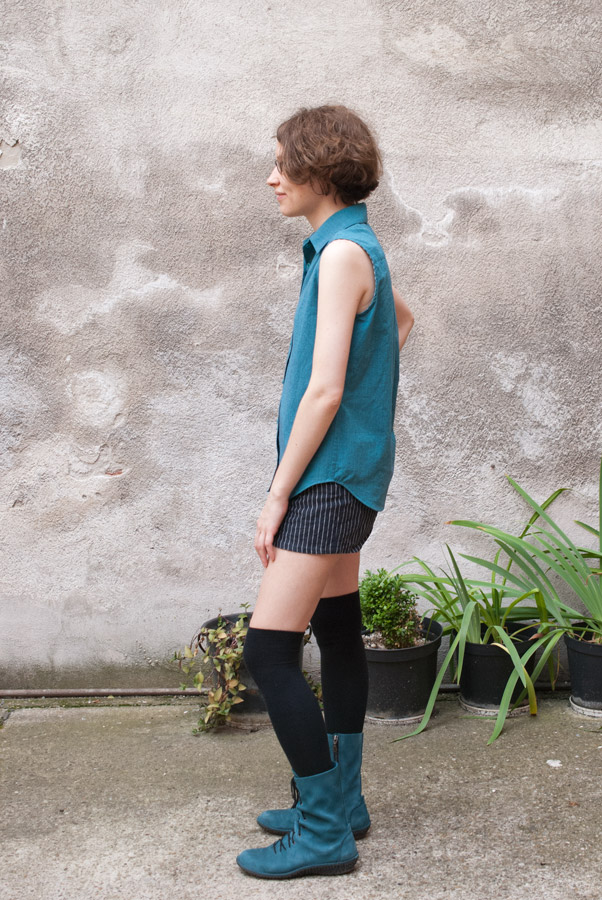
- I made the Sleeveless Variation, obviously. I followed Jen’s tutorial, shortened the shoulder seam by 3cm and removed the suggested ⅜″ from the back piece at the armhole.
- I made the collar bigger and pointier. (Yes, I’m a 1970s kinda gal when it comes to shirt collars.) I basically copied the collar width and point from a ready-to-wear shirt I like and merged that with the original Archer collar piece so that it would still fit onto the original collar stand.
-
I left off the pockets again. I would have added one to this shirt if I’d had enough fabric, but I didn’t.
-
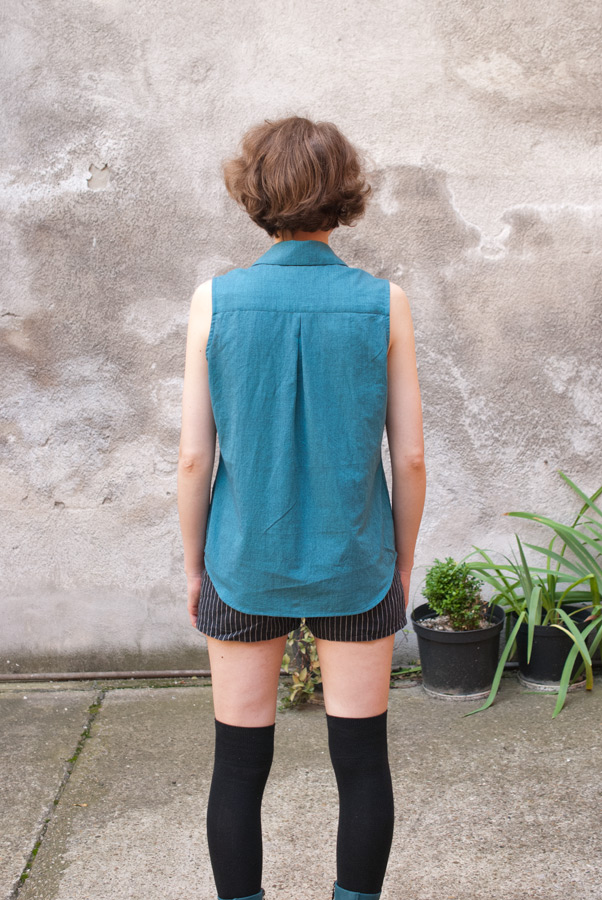
I sewed the back pleat inside-out again. I just seem to like that look better.
Construction techniques and helpful links
See my toile. I did everything exactly like that except for bias-binding the armholes instead of setting in sleeves. Oh, and I flat-felled the side seams this time.
What I want to do differently next time
-
I love this shirt, but I feel like the slope of the shoulders isn’t perfect on my body. This won’t keep me from wearing my lovely new shirt, obviously—but next time I’d like to tweak the shoulder line and see whether I can get rid of the wrinkles. I’m pretty sure that my forward-thrust shoulders are at fault, because if I pull them back further than I usually do, the fit is better. Now for reading up on the correct adjustment for that …
-
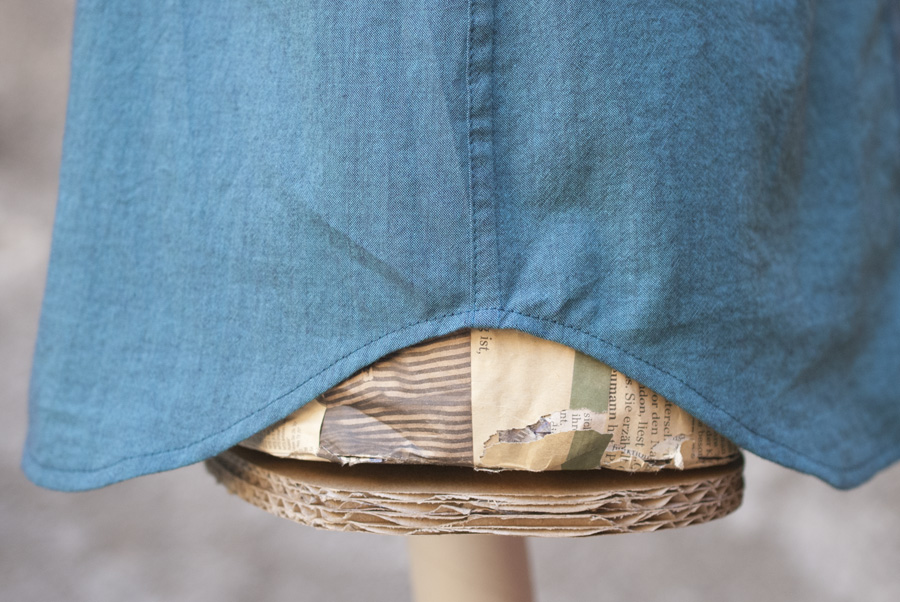
On the next shirt with a curved hem, I want to try using bias-binding for the hem instead of struggling with the silly double-folded hem again. It sounds like that would be much easier and should end up looking neater.
-
I should really figure out how to reduce the bulk in the collar stand. Most of my ready-to-wear shirts have that issue as well, to varying degrees, but I’d still like to improve on this if at all possible.
-
I really, really want to make an Archer dress variation! I like View A of the Alder Shirtdress Pattern, but I think that I prefer the Archer’s back piece with the pleat. Also, I can’t justify the cost of another pattern right now, particularly when I already have something similar, so I think that I’m just going to hack the Archer pattern into an A-line dress. I’d go with a straight hem, I think, because I feel like the curved shirt-tail hem makes the Alder look a bit too much like an oversized shirt instead of a dress.
Photos of me taken by my boyfriend.