Finished: Tractor Print Measure Twice / Cut Once Darcy Boxers
So, this is one of the things I’ve made for my boyfriend’s birthday: slightly ridiculous boxer shorts!
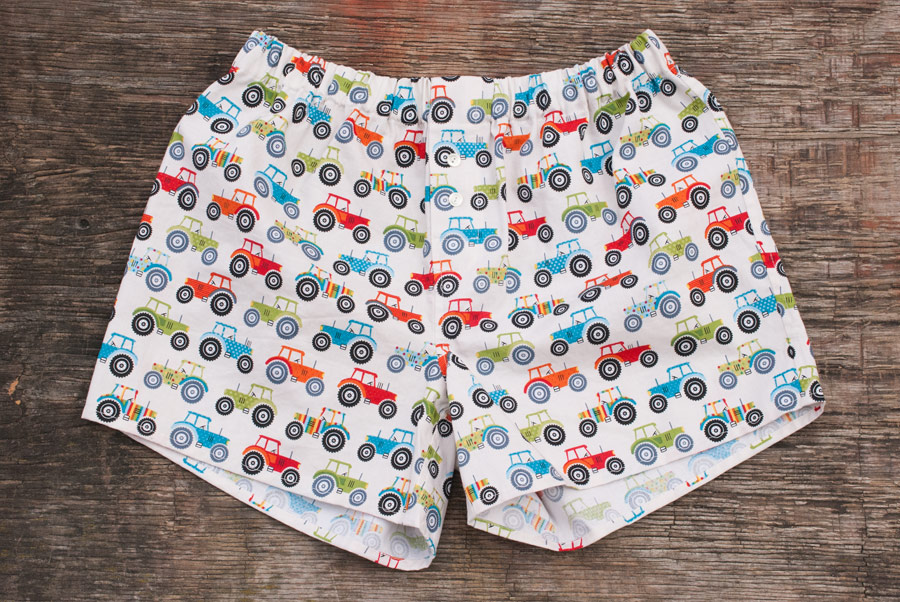
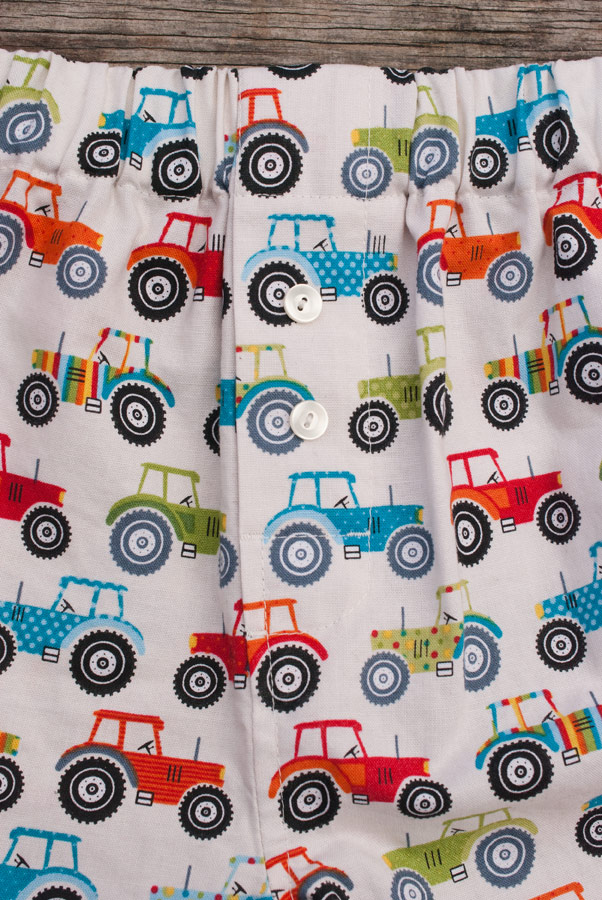
After finishing my first attempt, I really wanted to figure out a better construction method for boxer shorts. The pattern instructions are rather basic and don’t include nicer finishes like flat-felled seams, and my first try wasn’t quite what I was going for yet. I made another wearable toile from red and white striped cotton (with slightly wider stripes this time) and that turned out much better, so I felt ready to cut a pair from childish quilting cotton as a birthday present. I am quite proud of how these have turned out, they are very neatly sewn and finished—even the fly and the crotch seam below it!
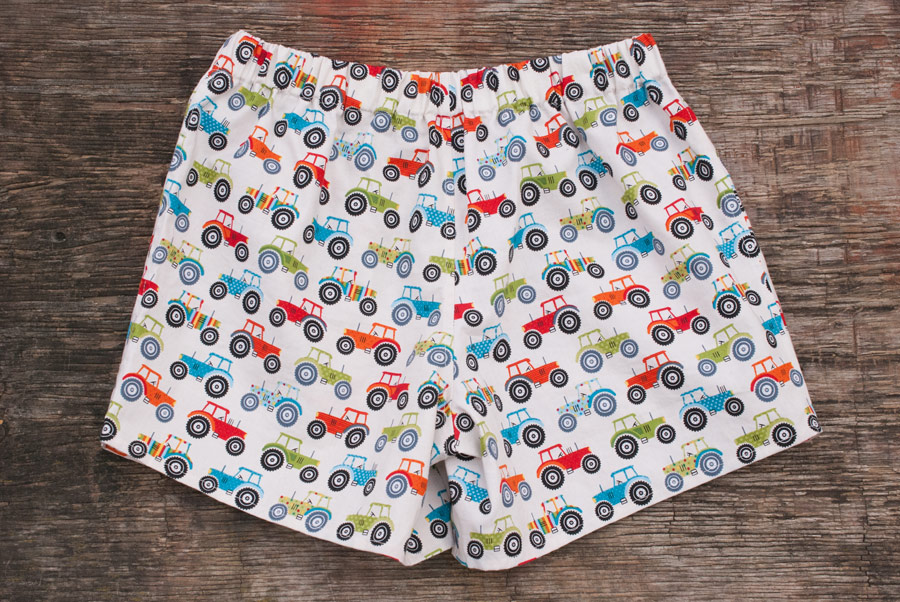
I know that it isn’t particularly exciting to look at flat shots of boxers, which is why I didn’t post about my second wearable toile—but I really want to document my construction process for next time.
Pattern
These are another pair of the free Measure Twice / Cut Once Darcy Boxer Shorts, in a size S/10.
Fabric
The fabric is quilting cotton from Komolka. The selvedge says: “1329 Jolly Farm Tractors © The Henley Studio makower uk 100% cotton”. Yes, I know that the fabric is rather childish, but it was the most suitable print I could easily find locally. I liked the colours and thought that the print was fun—and hey, it’s underwear, no-one will see it! I hope that they will be comfortable to wear because it would be so much fun to make more pairs from ridiculous quilting cotton prints!
Note that I placed the pattern pieces so that the tractors aren’t cut off at the hem (except for a few on the curved part of the back piece near the inseam) and that the lines of tractors match horizontally. No, I did not match individual tractors; the pieces curve too much for that.
Adjustments
Most of the adjustments are the same as for my first wearable toile of the pattern.
The only additional thing I (finally!) changed on this pair was to increase the seam allowances from 1cm to 1.5cm for all of the flat-felled seams—and they were a lot more fun to sew on this pair than they were on the previous two! I really, really prefer patterns without seam allowances (thank you, Burda!). It’s much less of a pain to add your preferred seam allowances to the stitching lines than it is to adjust seam allowances that are already there but aren’t what you want.
I’m quite delighted with my adjusted pattern, so I’m even considering scanning and tracing it for safekeeping. Sometimes I misplace pattern pieces, and whenever my boyfriend needs another pair of boxers, I would prefer not to make the same adjustments a second time.
Construction process
Now, I’m definitely not claiming to be an expert on anything, and I’m not writing this down in order to instruct the masses. I just think that I’ve finally come up with a boxer shorts construction process that works well for me, so I’m writing it down for my own future benefit. Feel free to skip over this section.
-
Flat-fell the inseams. Make sure to sew the seams with right sides together and fell them from the inside. (This goes for all of the flat-felled seams.)
-
Sew crotch seam all the way from below the fly facing to the top of the back pieces, with right sides together, matching up the inseams. Clip to the stitching line under the fly facing. Fell the seam from the inside, making sure to press it toward the left front piece (the one with the fly facing).
-
Fold and sew the fly piece according to the pattern instructions. Attach it to the right front piece.
-
Finish the edge of the fly facing. (I bound mine this time, but an overcast stitch, or even a zigzag, will do as well. The fly facing will mostly end up hidden under the fly piece anyway.)
-
Fold back the fly facing and topstitch it down.
-
[If you’re sewing a real fly, sew buttonholes.]
-
Attach the two front pieces by overlapping them and sewing a horizontal line through all layers where the fly topstitching starts to curve at the bottom. Add bar tacks to reinforce the opening (or, in the case of a fake fly like mine, just because it doesn’t look right without them).
-
Stitch the two front pieces together from the top to where the elastic casing will end.
-
Sew on buttons.
-
Flat-fell the side seams.
-
Hem the legs.
-
Fold the top over and sew the elastic casing, leaving an opening. Insert the elastic and close the opening.
What I want to do differently next time
-
Well, for one thing, I wanted crocodiles or sharks, not tractors! It is insanely difficult to find good crocodile or shark prints, unfortunately. Yes, I’ve looked. A lot.
-
More seriously, however, I might make a real fly next time, just for fun. The difference is only two buttonholes, so there’s really no reason not to make a proper fly—other than that my boyfriend doesn’t need/want it, so why bother.
-
I might increase the hem allowance, which is only 1.5cm. Sewing a narrow double-folded hem works fine with that, but I might prefer the look of a slightly wider hem, so perhaps 2.5cm would be better.