Finished: Katy & Laney Tap Shorts, Twice
Wheeeee, new shorts! And not just one pair, but two!
I didn’t actually think I needed any more shorts patterns, I have quite a few already, most of which I haven’t even tried. But when Katy and Laney released their very first pattern, and it was shorts, and they had some unique design details, I had to have the pattern. I’m so thrilled that their first pattern was not a dress or a tank top. There are so many dress patterns out there and I don’t wear dresses much, and there’s only so much you can do with a tank top pattern. Thank you, Katy and Laney, for being awesome!
Oh, and by the way. I’m participating in the quirky peach’s Summer Stashbust challenge, and these two pairs of shorts are my first finished projects for that. I haven’t bought any fabric since June 21 except for what I need for my dad’s birthday present, for which I really didn’t have anything suitable and which I do need before the end of the challenge. And I’m working hard on actually finishing some things from my stash! Thanks for making me do this, Sally, I really needed it!
Pattern
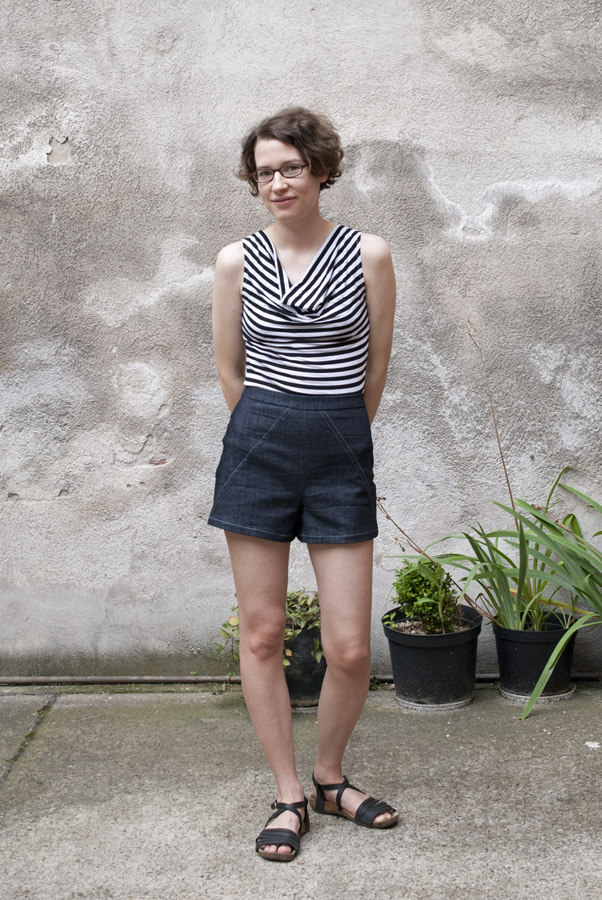
The Katy & Laney Tap Shorts, in a size 2, which matches my waist measurement. I was hoping they would have enough ease for my slightly bigger hip measurement, and they do.
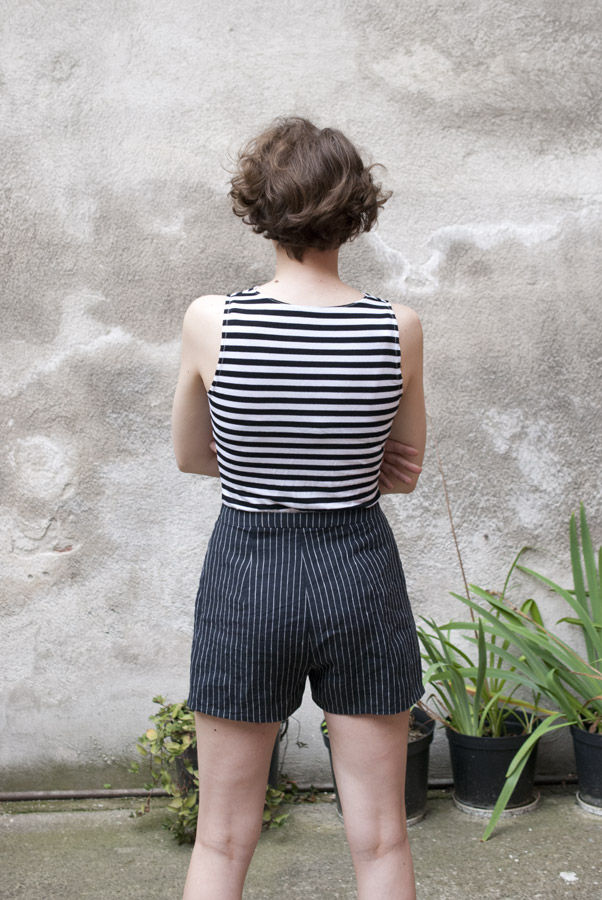
The linen version is a straight View B. The denim version is a View A with some adjustments (see below). Both are the Back 1 because I’m not a huge fan of welt pockets on shorts/trousers and I didn’t feel like going to the trouble of making them when I didn’t even think I’d like them.
Fabrics
Both fabrics are from Müller. It’s a discount fabric store and both of the fabrics were really cheap.
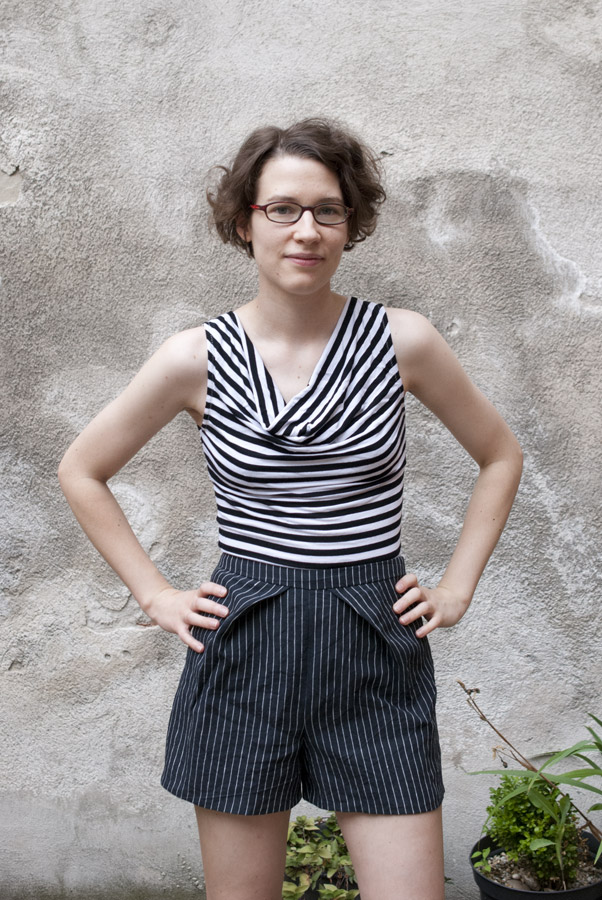
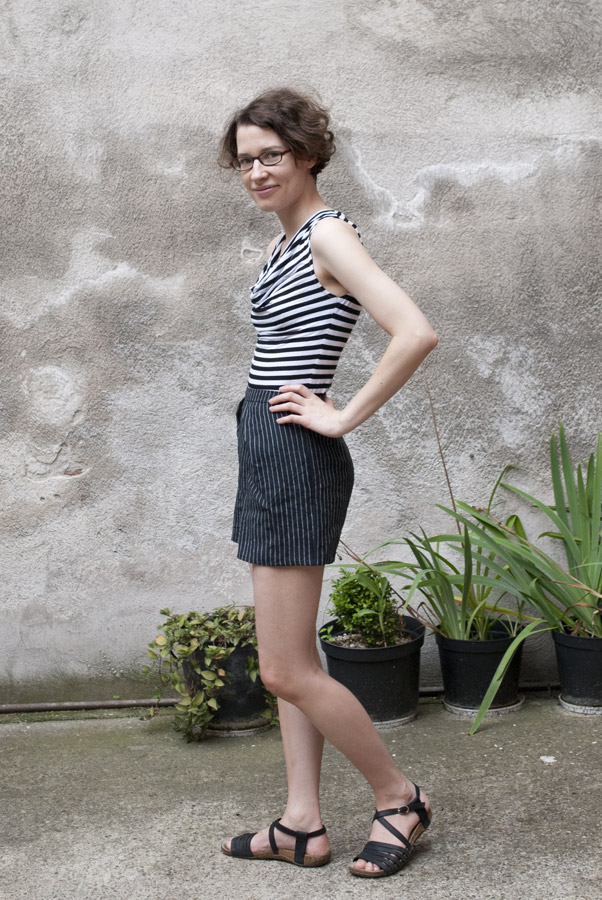
One of the fabrics is a dark navy, almost-black linen with narrow white stripes. I bought this quite a while ago and it wasn’t actually supposed to become a garment, but since the Tap Shorts use up very little fabric, I managed to get them out of this piece. I wanted to try the pattern in two very different fabrics, so I thought that this would work fine for the drapier pair. I didn’t attempt to match the stripes anywhere, I didn’t have that much fabric and I didn’t feel like it.
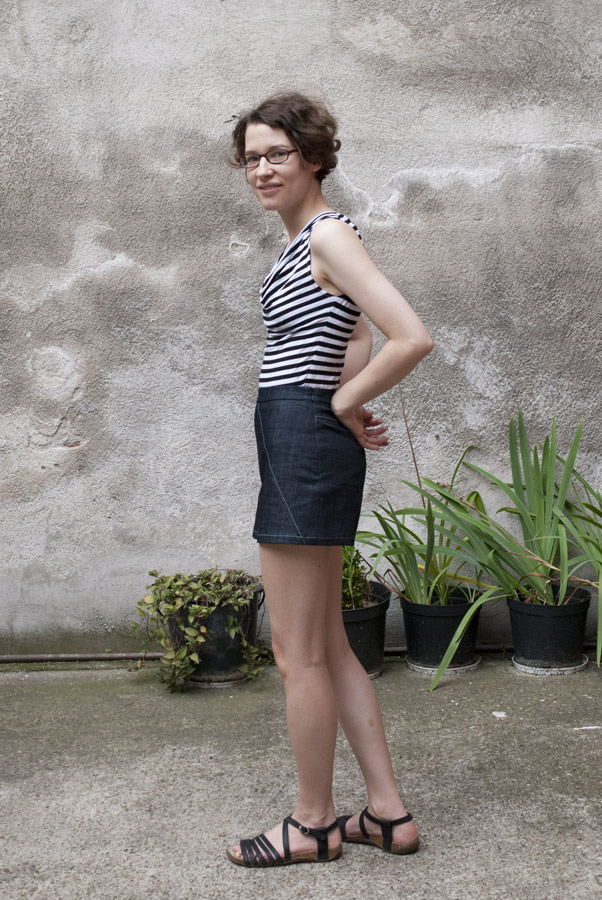
The other fabric is a dark blue denim. It’s pretty stiff, which I hoped would work for the Tap Shorts. (My boyfriend thinks it doesn’t. He much prefers the linen pair.) I thought it was cotton when I bought it, but it definitely contains some elastane, and it smells slightly funny when pressed, so who knows what it really is. It was easy to work with and pressed well, however, so I still think that it’s probably mostly cotton. (They don’t usually label their fabrics at Müller, and when they do, they are not to be trusted.)
For the inner waistband pieces on the denim pair, I used some scraps of a lightweight cotton from Komolka in order to reduce waistband bulk. The denim is quite heavy.
Adjustments
Linen Shorts
None. These are “out of the envelope”.
Denim Shorts
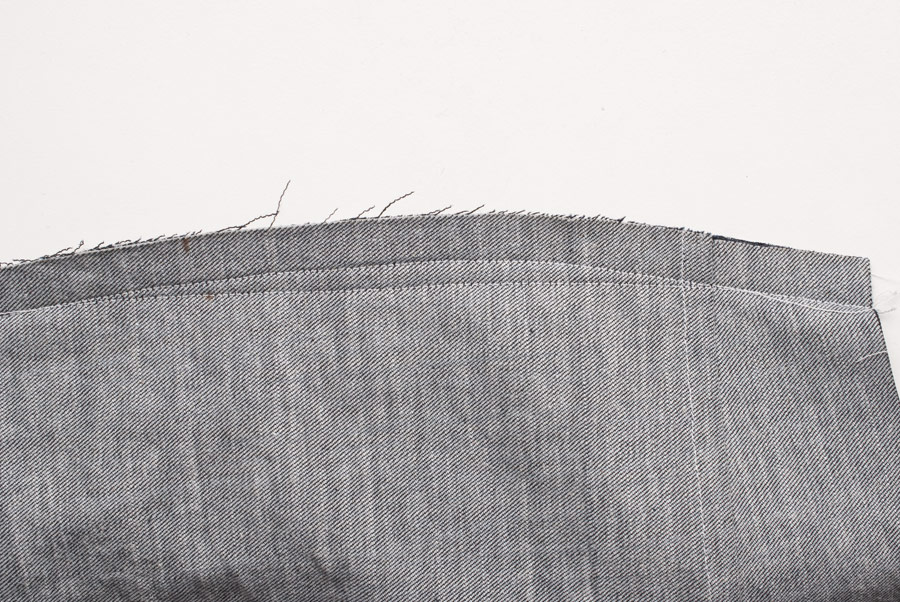
- I converted the back darts to a yoke. This was just for variety and because I thought that it would look fun on denim shorts and balance out the flat-felled front seams.
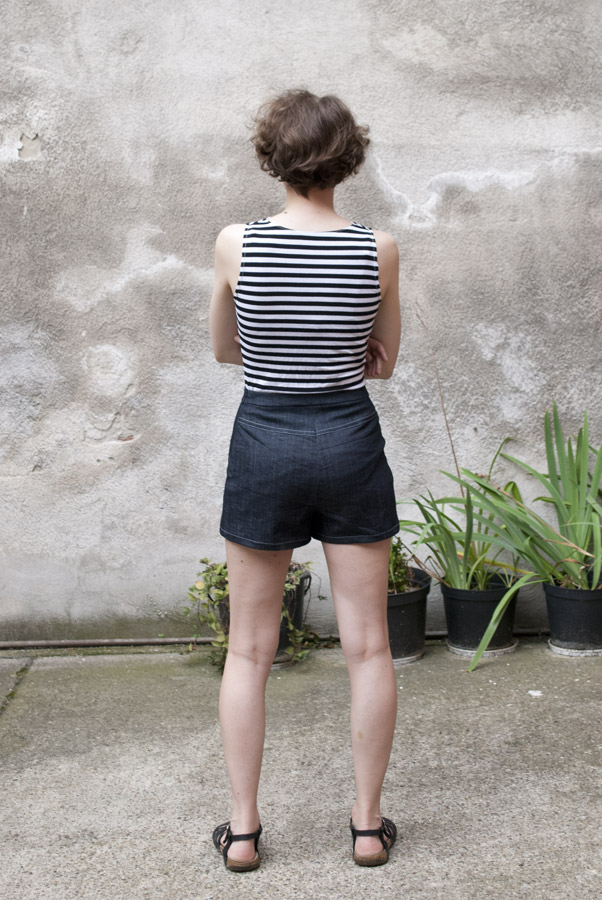
- I took the side seams in about a centimetre around the hips, straightening out the curve. That’s a little surprising because I actually have a bigger hip measurement than the size 2—but that’s because of my derrière, not my hips. My hips are apparently straighter than this pattern (like most patterns) is drafted for.
-
I then took the side seams in about half as much as the hips down to the hem because my adjusted hip curve made the lower part stick out in a funny way.
-
I sewed the waistband facing to the waistband with a seam allowance of 1cm instead of 1.5 because I thought that a slightly wider waistband would look better on denim shorts.
Construction techniques
For the denim pair, I used flat-felled seams for the angled front seams, the inseams and the back yoke seams. The other seams are just finished with an overcast stitch on my regular sewing machine. That stitch uses up an insane amount of thread and takes forever, but it’s easy to do and doesn’t add much bulk.
For the linen pair, I just used the overcast stitch on all seams.
I turned the hem of the denim pair up by 2.5cm, then turned about 5mm of that under and topstitched it down.
For the linen pair, I only turned about 1.5cm up, then again turned about 5mm under and slip-stitched the hem invisibly.
What I struggled with
Nothing much, really! I had some trouble with lining up the waist seam at the invisible zip and unpicked one side of each of my zips, but other than that, everything worked really well.
What I want to do differently next time
The fit in the back isn’t quite perfect yet. I’m happy with it, particularly on the linen pair, but it isn’t perfect. So I’d probably want to tweak that a bit, perhaps compare the back piece to the Papercut Pleated Shorts piece. I think that the Papercut Shorts might fit slightly better in the back, whereas the Katy & Laney ones definitely fit a lot better in the front.
I want to try the front fly variation as well. I’m sceptical about the usefulness of pockets, since these fit me quite closely and I would probably not be able to put much into pockets even if I had them, but I want to try the variation anyway, just to see how it looks and comes together. Not right now, however. I’m somewhat burnt out on shorts-making, I need a change after these two pairs.
Helpful links
-
Katy’s sew-along was fun to follow. I’m sure I would’ve been fine without it, the pattern instructions are excellent, but it helped me pace myself and it was just fun to read along.
-
For flat-felled seams, I generally follow the method from Thread Theory’s Jedediah Sew-Along, which was the first detailed tutorial for flat-felled seams that I ever read. (Scroll down to where she attaches the yoke.) I know that there are fancier ways, but this just works well for me, so I haven’t felt like experimenting.
-
For more information on inserting an invisible zip, Sunni’s free Craftsy class is excellent.
Other versions I like
-
Closet Case Files: Okay, my striped linen looks completely different from Heather’s, but she inspired me to use striped linen in the first place.
-
Cashmerette: Those stripes are so much fun! I’m considering making a pair in my favourite IKEA fabric (which is the same cotton as hers, only with narrower black and white stripes).
-
Grey’s Fabric and Notions: Orange polka dot linen!
-
Idle Fancy: That fabric is fantastic!
-
somerealthings: Yay for black denim!
Photos taken by my boyfriend—in a really quick, “I’ll have to leave in ten minutes, could you take some photos for me?” photo shoot. It took us seven minutes. I don’t look my best, but I figured it would have to do.