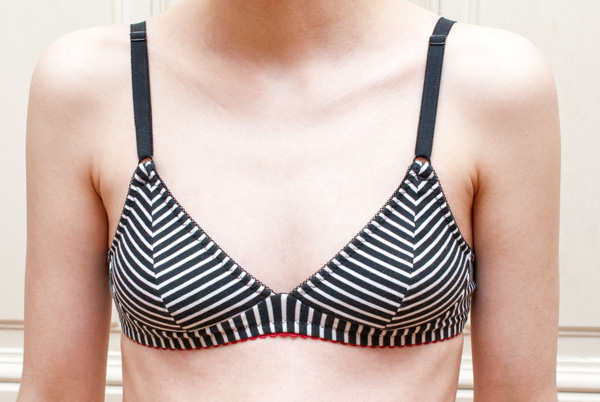
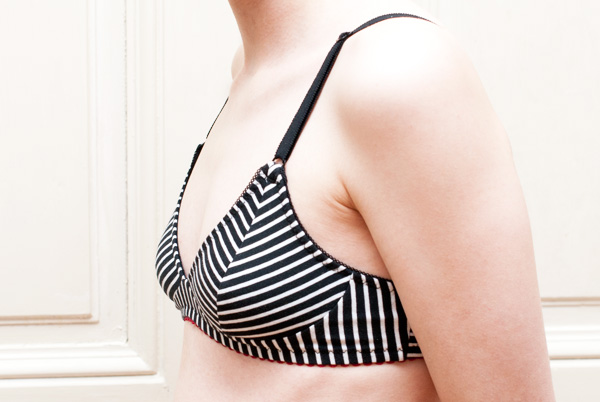
Finished: Stripey Cloth Habit Watson Bra & Bikini
Dear creepy Internet people, are you ready for another instalment of our Adventures in Small-Busted Bra Fitting? Yes? Here we go, then!

Yes, the fabric makes this bra a little … disorienting? dizzying? I wouldn’t have chosen stripes for a bra, particularly since I had no intention at all of matching them, but I happened to have some scraps of this fabric and it was the exact kind of fabric that I wanted to use for my next attempt at a bra, so I went for the craziness. Few people—other than, of course, you creepy Internet folks—will ever have to see me in this thing.
Pattern
This is another version of the Cloth Habit Watson Bra & Bikini—and yes, I’ve made the matching knickers this time. Two pairs, actually. I cut a size 32A for the bra again, like last time, but with some further adjustments, as detailed below. I’ve made the knickers in a straight size S.
Supplies
The main fabric is a cotton jersey with some elastane left over from making a tank top. I lined the bra in black viscose/elastane jersey left over from my Drape Drape dress.
I used the same elastics from Verstrickt & Zugenäht as last time, except for the bottom of the bra and the waistline of the knickers. For those two places, I used a slightly wider, stronger red elastic that I got at Müller a while ago and that I’ve used before for making knickers.
The rings are from another disassembled old bra and the sliders are from Verstrickt & Zugenäht as well.

Adjustments
-
For my original bra adjustments, see the post about my wearable toile.
-
I took in both the inner and outer bra cup pieces by about 5mm, as explained in the Watson sew-along. Going down a cup size was not an option for me since there’s no size 32AA in the pattern.
-
I made full pattern pieces for the front and back of the knickers, the bra cradle and band. While I was at it, I added 3cm to the centre back of the bra band—a little less than last time, I think, as suggested to me by Amy.
-
I also drew a smooth curve from the side seam down to the centre back of the bra. I decided I’d rather sew the ends of the straps to the band than follow Amy’s method. The original instructions are fine, but they’re more work and rather unnecessary since I’ve eliminated the back closure. Plus I like this shape better.

- I actually sewed the bra straps to the bottom of the band in addition to the top and anchored them under the elastic. This is a clever little detail that I copied from a ready-to-wear bra.
What I want to do differently next time
-
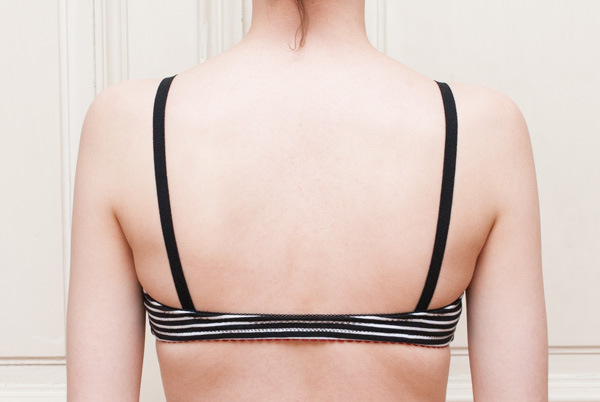
The bra fits a lot better than my wearable toile, particularly in the cups. There’s no weird puckering or excess fabric there any more, and the “support” is better—if that makes any sense, even if I don’t really need it. I do feel like it’s a little too tight, however, which can be seen most clearly in the back view. So next time, I am going to add a little ease to the back band, I think.
-
I made some kind of measuring or calculation mistake when redrafting the bra back band and ended up with a really skinny band. I don’t like how that looks, so next time, I’ll have to increase the height of the band.
-
The knickers fit me well and are comfortable, but they’re a little skimpy for my taste. I think that I would be more comfortable if they were a little higher-waisted, so I’ll probably raise the waist a bit for my next version(s). Amy even explained how to do several kinds of knickers alterations in her Watson sew-along—including adjusting the rise.
Photos taken by my boyfriend.