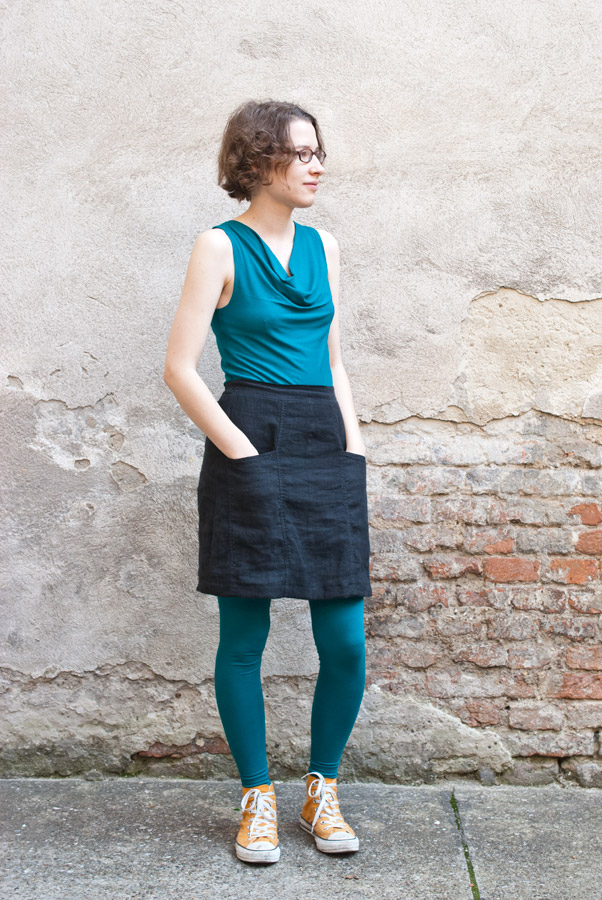
Finished: Self-drafted Teal Leggings, plus Bonus Day-to-Night Drape Top
Well, I will admit that looking at photos of leggings, as worn under a skirt, isn’t particularly exciting. But I am quite excited about my new pair of leggings, so I wanted to post about it—and to make the post more fun to look at, I’m also including a new top that I’ve made from the remaining leggings fabric. Why am I excited? Because even though everyone thinks that leggings are dead simple to make, I disagree. I find that fitting patterns with fewer pattern pieces is actually harder than fitting patterns with lots of seams that you can tweak. And yes, I want my leggings to fit me well. I seem to have slim ankles, so I’m at high risk when it comes to baggy leggings! And even though no-one can see my crotch curve, I still don’t want any weird wrinkles or bagginess there either.
My parents made fun of me when I first told them about my insecurities with regard to making leggings. I’ve made all kinds of things that look a lot more complicated than leggings, right?… Well, after telling them in great detail about my efforts to arrive at a well-fitting leggings pattern (see next section), they don’t dare make fun of me any more!
Pattern
A long and winding journey to self-drafted leggings
As the title says, I’ve drafted the pattern for these leggings myself. And if you’ve ever drafted leggings, you know that they are, in theory, among the easiest things you could try to draft. Unless you are one of the people who prefer to make everything as difficult for themselves as they possibly can.
If you just want to know what I eventually ended up doing, this paragraph is for you: This version was drafted according to the instructions in Winifred Aldrich’s Metric Pattern Cutting for Women’s Wear, of which I own the 5th edition. As the leggings block in that book actually has positive ease, which is not what I was going for, I multiplied my body measurements (only the circumferences, not the length measurements!) by 0.9 and drafted the block from the resulting adjusted measurements. I’m feeling quite smug about that clever idea because it worked out really well.
If you want to know how I arrived at what I eventually did, read on. Otherwise, feel free to skip down to the next section.
I was initially going to use one of the countless leggings patterns out there, and for that purpose, I traced an Ottobre pattern (the “Treviso” leggings from issue 2/2011) and downloaded some free pattern from the Internet. Both of those patterns seemed slightly odd to me, at least when compared to my own body measurements. I was going for tight-fitting leggings, like tights without feet, and both the Treviso and the other pattern seemed to have negative ease around the crotch area, but quite some positive ease at the ankle—which I’m pretty sure would not be a good look on me. (Note that I seem to have small ankles in relation to my derrière and thighs, so things would look different on other people’s bodies.)
So when I had discovered that perhaps neither of these two patterns was the best idea, I figured I’d draft my own pattern. Leggings need only one pattern piece, so … easy, right? For my first attempt, I followed the instructions in this Etsy tutorial, which is widely known and strongly recommended all over the online sewing community. I also compared the result to Miranda’s “Stretch Yourself” instructions, which seem to be pretty exactly the same as the Etsy tutorial. For this version, I used 10% negative ease, so 0.9 times my circumference measurements. The resulting pattern looked like it would fit a lot more closely than the other two, so that was good, but … there was another oddity. For the front and back rise measurements, the tutorial tells you to “hold [your ruler] between your legs, as high up as is comfortable […] parallel to the floor” and “measure up from the ruler, in a straight line”. When I do that, my back rise measurement is only very slightly longer than my front rise measurement, because measuring vertically does not account for my prominent behind. The resulting pattern is only very slightly longer in the back than it is in the front, which doesn’t seem right when my behind is much more prominent than my belly and will thus take up quite a bit more fabric.
When the online tutorial route failed (keep in mind that I did not sew up any of the above patterns, just studied the pattern pieces), I decided to get out my pattern-drafting books. The first I grabbed was Winifred Aldrich’s Metric Pattern Cutting for Women’s Wear, and since that one contains a designated leggings block, I decided to try that. I faithfully measured myself again (since Aldrich uses different measurements from the Etsy tutorial) and followed the instructions. And then I discovered that this leggings block, which Aldrich says is “for maximum stretch, fine ribbed jersey or Lycra fabrics”, actually has positive ease! I find that slightly odd, but then I know that some people want positive ease in their leggings. In my world, that would be close-fitting knit trousers, not leggings, but whatever. The Aldrich block has a significantly higher back than front rise, however, which looked good to me. So I multiplied my circumference measurements by 0.9 and redid the whole exercise, the result of which are these leggings you see here. Whew.
Top
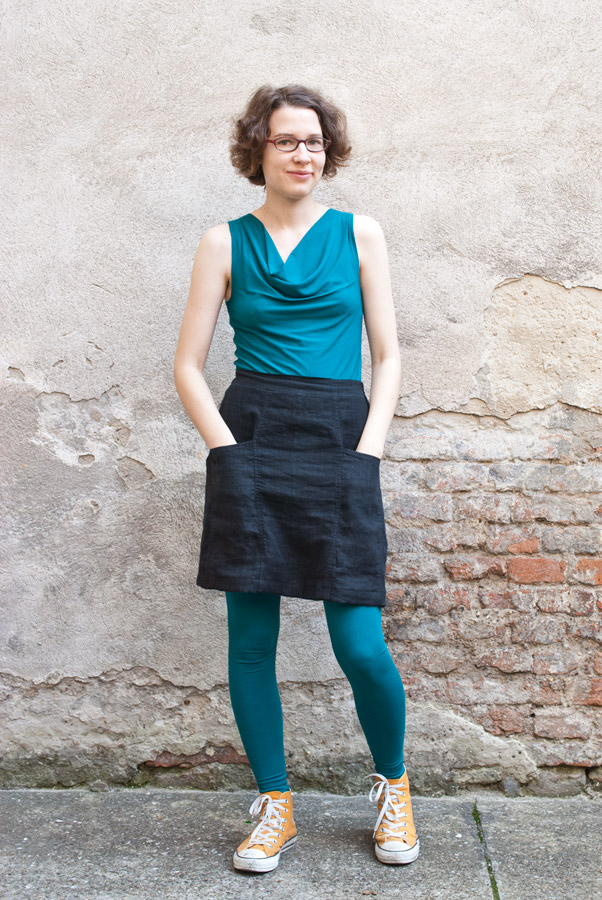
The top is another Maria Denmark Day-to-Night Drape Top, in a size XS like last time.

Fabric
Both the leggings and the top were made from lovely, soft viscose jersey (with some elastane) in the most awesome shade of teal, from Stoffsalon. I’m pretty sure that it’s the same fabric as the one I used for my Drape Drape dress, only in a different colour.
Adjustments
Leggings
None. These were made up exactly as drafted and fit me exceptionally well. Even the crotch curve is pretty much perfect in the front and back.
Top
-
I added a little width to the side seams of the top, more to the back than to the front. I started with just 2mm under the arm and increased the width toward the hip, adding about 5mm to the front and 1.5cm to the back piece, I think. The top is still very close-fitting, but not quite as tight around the derrière as my first version, and the side seams seem to be almost straight this time.
-
Okay, confession time … I’m a rebel and I cut the top on the “cross grain” (if that’s what you call it, even for a knit fabric?). It wouldn’t have fit onto the remaining fabric otherwise, and I figured it was worth a try. It is a 4-way stretch fabric. I think that it worked fine, though it looks slightly odd up-close, with the knit stitches running around the body rather than up and down.
-
I didn’t have any clear elastic in my stash and didn’t want the look of fold-over elastic around the edges, so I didn’t use any elastic at all. I just turned the back neckline and armhole edges under and stitched them down with a three-step zig-zag stitch, exactly like the hem.
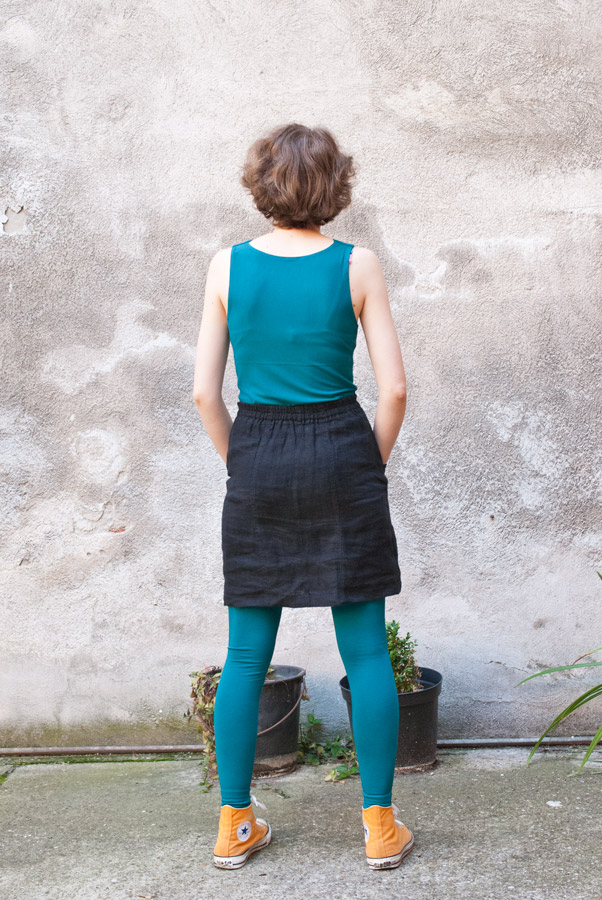 (Sorry for the bra strap and the slightly wrinkled look. Sometimes I could really use a stylist, particularly for my back shots!)
What I struggled with
Hemming the leggings was the only thing that was a bit of a problem. I tried a three-step zig-zag stitch first, but that wasn’t stretchy enough and the hem didn’t fit over my foot like that, so I played around with different settings on my machine and tried out a few different stitches on some scraps. (Yes, unpicking a three-step zig-zag hem on viscose jersey is great fun.) A twin-needle hem wasn’t stretchy enough either, so eventually I settled for a rather wide ordinary zig-zag, with a short stitch length (3.5mm width and 1.5mm length or something like that, I think).
What I want to do differently next time
Leggings
-
I have a really fun (and practical!) idea for an adjusted version of these, which I’ve already drafted a pattern for. The process for making that pattern was even more fun than the process for this one. You’ll have to wait and see.
-
They are really high-waisted. I’ll probably cut off a few centimetres at the top next time.
-
I think that these are slightly too long, they bunch up a bit at my ankles. I don’t mind that much, but ideally, I think I’d make them slightly shorter next time. I don’t think I’ll bother with re-hemming these here, however.
Top
- The armholes on this version are quite low. I didn’t have that issue with my first version or my Day-to-Night Franken-Nettie, so I think it’s just the fabric. If I make another Day-to-Night Drape Top from a fabric like this, I will definitely raise the armholes a bit.